I am sure all of you who restore these understand what it feels like when you pull one home and then REALLY take the time to inspect and then you look deep inside of the trailer followed by a looking of deep inside yourself and say....what was I thinking?! Lucky for me it wasn't the first time and so within the first two days a lot of work was done.
The inspection and the tear down, always an eye opener to what lies ahead!
This is the way Lucky sat for years. Lucky for me though there was no mouse smell which is a BIGGEE!
Water damage at the front wall and sides required new birch and almost a complete skin off tear down! But I will get into that later. For now, here are the before and afters.
Today...
 |
| New birch replaced at the front and sides. |
 |
| Love this period correct can opener. It is removable for storage! |
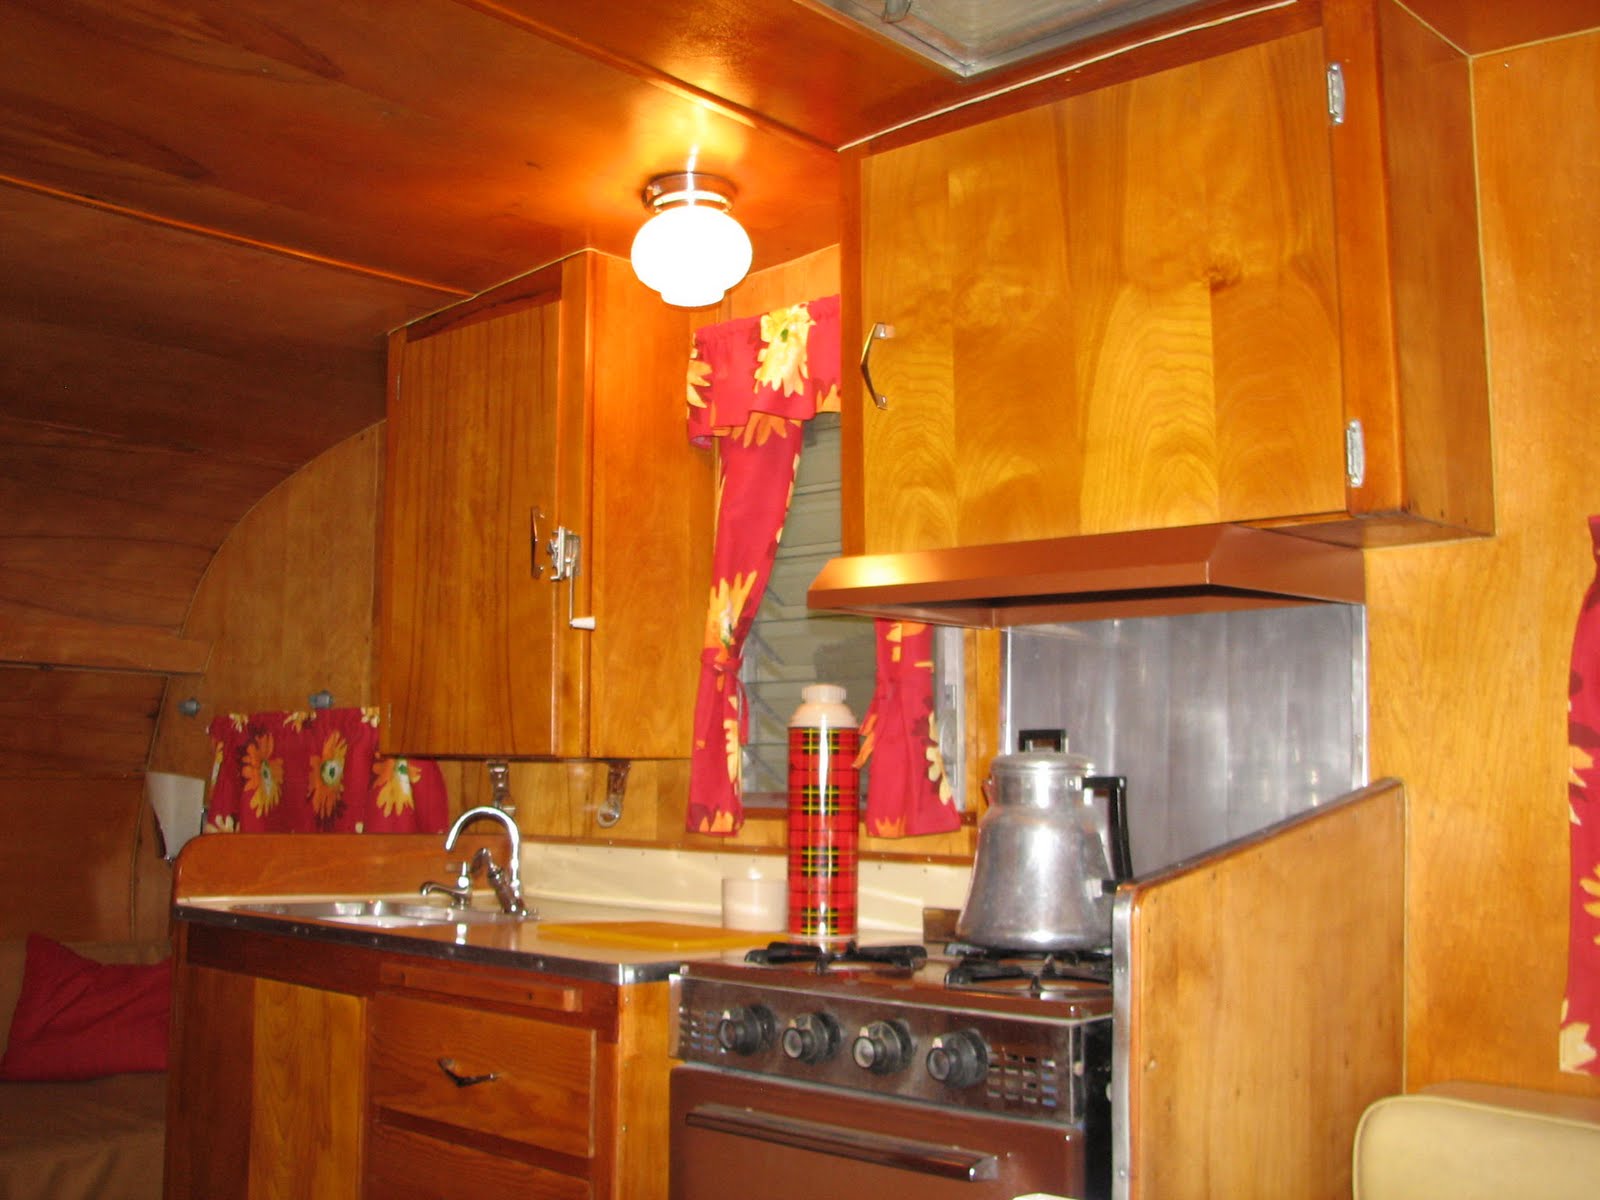
 |
| The kitchen! Coffee anyone? |
 |
| Window trim cleaned and polished. |
 |
| There is an area of damage to the counter but nothing a cutting board won't cover! |
 |
The old floor was removed & cleaned. New under floor put down.
Ready for your choice of flooring! |
 |
Yes, Lucky still has the ironing board! This fits into the cutting
board slot! Never could figure out why anyone would want to iron
while camping though! |
 |
The seats have solid decent frames and springs but will need
to be reupholstered unless you just want to cover them! |
 |
Original propane light. Overhead cubby has original formica
that matches the counter and table. |
 |
| All original fixtures including the paper towel holder under the cupboard. |
 |
Original rear light with fiberglass shade. The hammock bar holders are all there.
|
 |
| Original clothes bar. |
 |
| Damaged trim was replaced as was damaged ceiling birch. |
 |
| The much coveted magazine rack! |
 |
| The stove/oven is all ready for bacon and eggs! |
 |
| Under cabinet light still to be wired. Original globe is included! |
 |
original towel rack
|
 |
Trim around wheel well boxes was replaced to match the original.
This box has a new top piece. |
 |
One side of the formica was split where the pull was so I repaired
it by fitting birch over to the edge and then fastening the pull. The opposite side was altered to match.
I did not want to loose that original formica and this was a great way to save it! |
 |
| Ceiling vent cleaned, repaired and polished. Water damaged birch replaced here as were the trim pieces. |
 |
| See how that cutting board works |
The next blog will get into a little more detail about all the work that went into this trailer! And believe me, it was work. Funny thing is when you love these old trailers and you are able to see their potential to look like they did back then again...it doesn't always feel like work! Except on those days when everything that can go wrong does! And believe me, there were plenty of those!
Until next time....


No comments:
Post a Comment